
The Beast of Toussaint is Geralt's first mission in Toussaint, and the 2nd mission in The Witcher 3: Blood and Wine. This mission has important choices that determine some values in other side quests, and there are also a few confusing puzzles to solve. Below, you'll find a full walkthrough of The Beast of Toussaint so you won't miss any achievements, choices, and rewards.
How to Beat Golyat (David and Golyat Achievement)
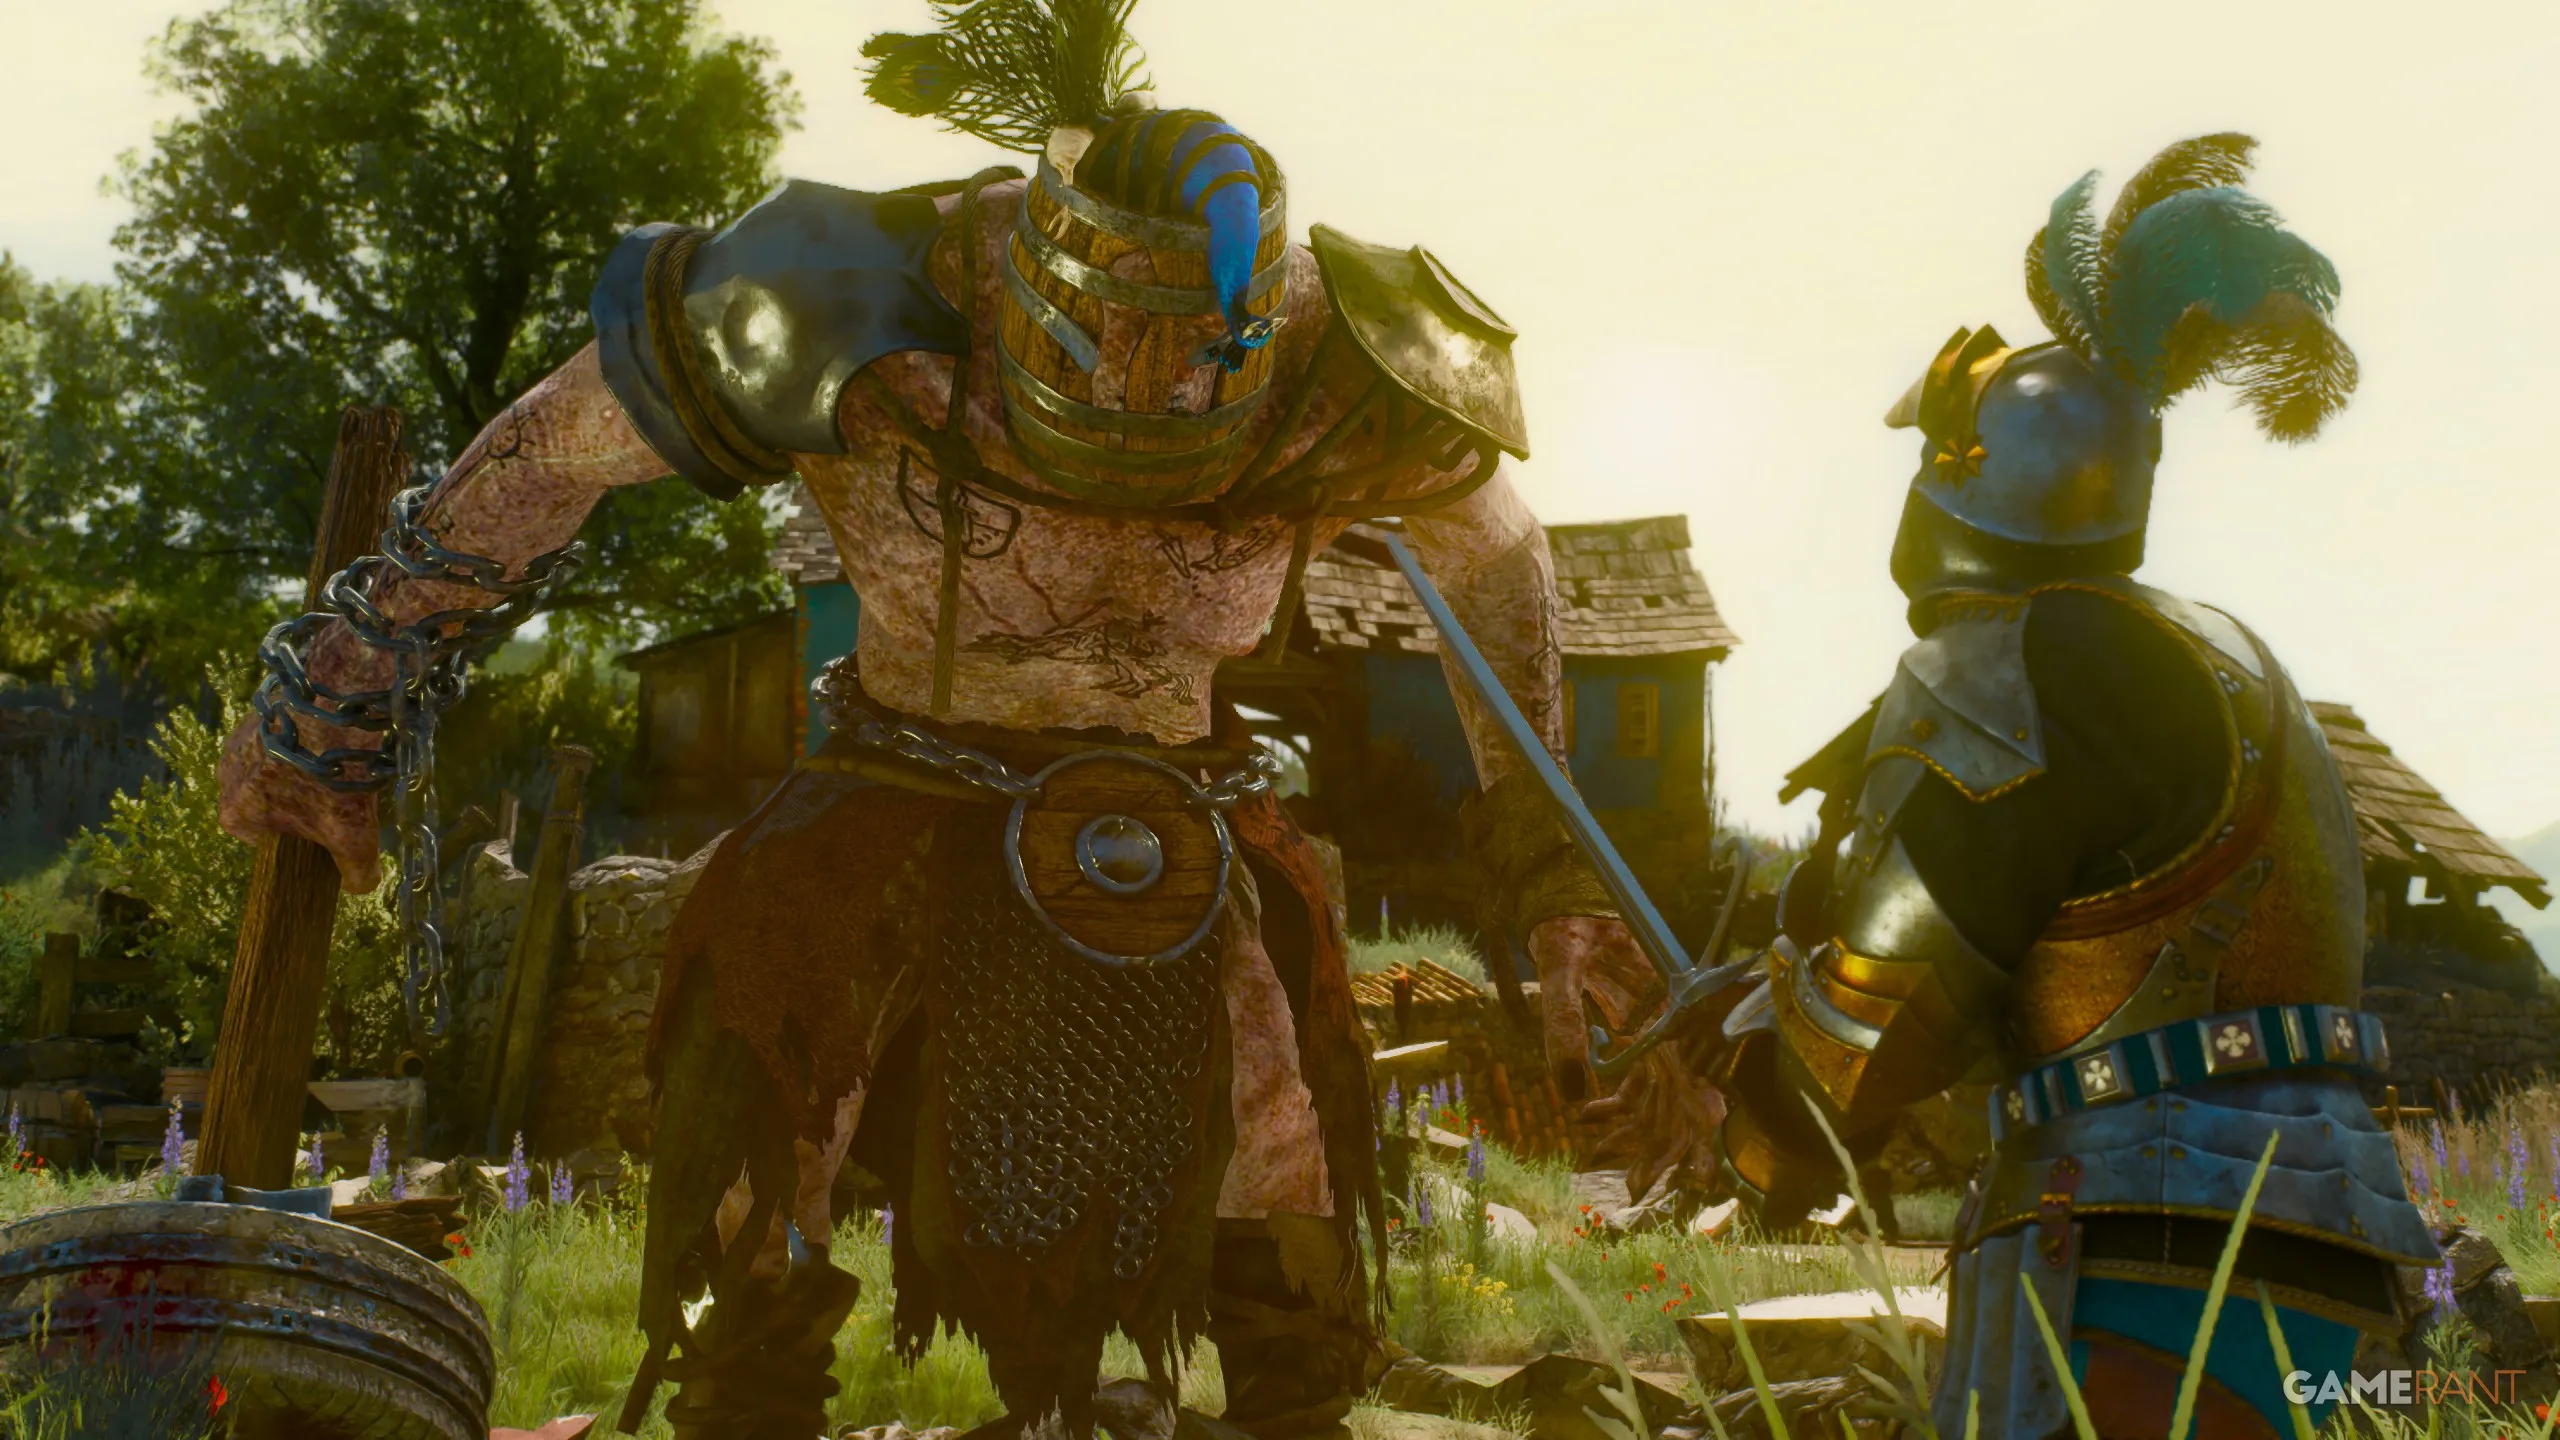
Once you accept the contract from the Toussaint knights in "Envoys, Wineboys", you will immediately travel to Toussaint, where you'll enter a cutscene to watch the giant Golyat fight a knight, Guillaume de Launfal. Here, you will enter a short boss fight against Golyat, but don't be hasty, as this is your only chance to get an achievement!
When you begin the fight against Golyat, use your Crossbow and shoot him in the eyeball between the cracks of his helmet, and he will instantly die. This will reward you with the David and Golyat achievement, and it's by far the easiest way to kill him, as his health will instantly go from 100% to 0%.
Make sure you loot Golyat, as while the trophy is automatically added to your inventory, you can loot his corpse for free Crowns and a unique sword.
Investigate the Riverbank
Milton will take you to the shoreline of the Cockatrice Inn, where you must use your Witcher Senses along the riverbank to follow a trail. This will lead you to 4 Scurvers, so use Quen against them to shield yourself, as when their health is low enough, they will explode and shoot tiny spikes.
Continue following the trail, where you will then begin searching underwater. You can interact with the fishing net to find Handkerchief Monogrammed 'd.l.C.', which you can return to Milton and then follow him to the inn, where you will be tasked with going to Corvo Bianco.
Investigate Corvo Bianco & Beat the Bruxa
When you arrive at Corvo Bianco, you will see plenty of corpses. You should use your Witcher Senses to examine at least two of the bodies, and Geralt will deduce that this is the work of a Bruxa. You can now enter your Bestiary and navigate to the Vampires tab to find the Bruxa, which gives you 150 XP.
Navigate into the cellar of Corvo Bianco and use your Witcher Senses to follow the footprints, which will lead you to a boss fight encounter with the Bruxa. You can use Superior Moon Dust to throw it at her and cancel her invisibility, and Black Blood will also be useful in the fight. If she's invisible, hold block to avoid her slashes, and dodge behind her before her screams.
With the Bruxa dead, you now need to investigate the body on the table. Simply examine the head, chest, and severed hand, and you can then end the investigation, which will grant you your next objective to see Palmerin at the arena.
How to Beat the Shaelmaar (& Should You Spare It?)
When you arrive at the arena and speak with Palmerin, you will be asked about virtue from the children, but your answer here does not matter. You will then enter a cutscene where you watch a Shaelmaar fight Guillaume, but things take a turn, and Geralt is forced to step into the arena to fight it himself.
To defeat the Shaelmaar, use Aard on the walls as Shaelmaars are blind, and it will rush towards the sound of the noise, hit the wall, and fall on its back, making it vulnerable to your silver sword. Guillaume can also lose his health in this fight, but he won't die, so don't worry about protecting him.
When you defeat the Shaelmaar, you're met with two choices:
You should spare the Shaelmaar, as there is no reward or consequence for killing it. If you were to spare the Shaelmaar, you will gain Proof of Compassion for the "There Can Be Only One" side quest that will happen later. This isn't your only opportunity for the Proof of Compassion, but it is the easiest and earliest.
Find Milton in the Hare Hunt
After defeating the Shaelmaar, you'll speak with the Duchess, Anna Henrietta, and discuss the investigation thus far involving the first two victims. You will also get the Deed and Key to Corvo Bianco, which starts the "No Place Like Home" side quest, but we'll cover that later.
The investigation will lead you to the Hare Hunt to save Milton, and you must find the Golden Fish and the Unicorn Horn while the Duchess finds the Phoenix Egg, which are all needed to find Milton's location.
The Golden Fish
Follow the objective marker and dive into the water. You need to find the GOLD fish, not just any fish, and you'll find it in the southwestern area of the circle's radius. Finding it as the first or second fish grants the key you need, along with 150 XP. Failing that, someone else will catch the fish, and you need to take it off of them.
The Unicorn Horn
The "unicorn" (which is just a horse with a horn strapped to its forehead) is skittish and runs if you get too close. You can calm it with Axii, or pick up Ripe Apples from the picnics. If you use Axii, members of the Hare Hunt will try to fight Geralt, but you can use Axii on them for 40 XP, or get into a brawl. Just grab the Ripe Apple and hold it out with R1/RB as you approach the horse.
Before returning to the Duchess, you can find a noblewoman's lost ring by the waterfall, as shown on the map. You can then return this ring to the woman on the bridge (also shown on the map), but this grants no reward.
The Riddle Answer
When you return to the Duchess, she will read out a riddle: "I begin like a groan hollowed out with ease, then end like a mouse with a head of hard cheese." The answer is "It's a greenhouse!" You can answer correctly to get 200 XP and earn Proof of Wisdom for "There Can Be Only One", but even if you get it wrong, the Duchess will answer correctly.
That's the end of "The Beast of Toussaint", as after the riddle, "Blood Run" will immediately start.
Source: Game Rant